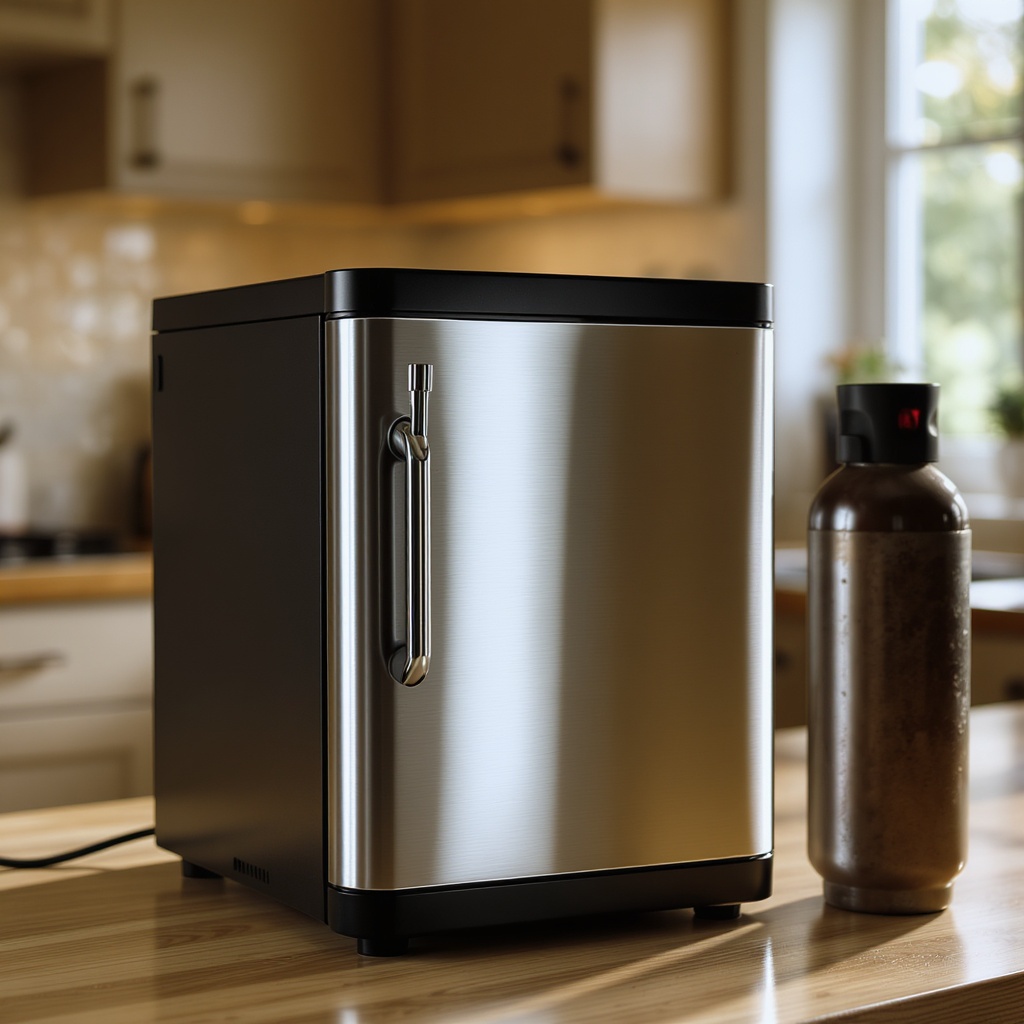
What Is a Kegerator — and Do You Need One?
A kegerator is a refrigerated cabinet purpose-built to hold a Cornelius keg (typically 5 gallons / 55 gallons equivalent in home use) at serving temperature with CO2 pressure. The result: draft-quality beer from your own tap at home.
Two equipment options dominate the home draft market:
| Option | Best For | Monthly Cost | Setup Complexity |
|---|---|---|---|
| Countertop tap system | Occasional pourers, renters, apartment dwellers | From $29/mo rental | Low — plug in and connect |
| Full-size kegerator | Weekly drinkers, serious hobbyists, home bar owners | From $59/mo rental | Medium — CO2 tank + gas line |
TapDrop's rental plans include the equipment, CO2 fills, and delivery. If you're buying your own, expect to spend $200–700 on the unit plus $50–100 on the CO2 system before your first pour.
Step 1: Choose and Prep Your Location
Kegerators need a level surface, ambient room temperature between 60–75°F, and at least 3 inches of clearance on all sides for the compressor to vent heat properly.
Where not to put it: Direct sunlight (heat spike), garage in summer (temperature extremes), near a radiator or oven (compressor works overtime and consistency suffers). A climate-controlled indoor space is the baseline — garage installs only work if you control the ambient temp.
If you're renting a unit from TapDrop, positioning is straightforward: level floor, standard outlet, done. If you're buying a full-size unit, measure your doorways first — some models are too wide for narrow hallways.
Pro tip: Use a spirit level during setup. A kegerator that's even slightly off-level will cause uneven beer distribution and inconsistent pours. Two-minute check that saves a lot of frustration later.
Step 2: Install the CO2 Tank
The CO2 tank is the engine of your draft system. Without it, you've built a very expensive refrigerated beer holder.
The regulator attaches to the tank valve using the gasket that came in your kit. Hand-tighten only — no tools needed, and overtightening deforms the gasket and causes slow leaks.
Push the gas line onto the regulator output fitting, then connect the other end to the keg coupler on your keg. Most home systems use a 5/16" beer gas line. Hand-tighten all fittings — if it's finger-tight, it's tight enough.
Step 3: Set Your Pressure
Open the tank valve (turn fully counterclockwise). Then open the regulator valve. You should see the gauge reading climb — most home systems run at 10–12 PSI for standard ales and lagers.
The table below shows approximate serving pressure by style:
| Beer Style | PSI Setting | Notes |
|---|---|---|
| Standard lager / ale | 10–12 PSI | Baseline for most styles |
| Hazy / NEIPA | 8–10 PSI | Lower pressure preserves aroma compounds |
| Stout / nitro-style | 12–15 PSI | Higher CO2 needed for dense head |
| Wheat beer | 10–12 PSI | Standard is fine |
Allow 10–15 minutes for the gas to purge through the lines before tapping your first keg. This step is non-negotiable — skipping it means the first pour will be almost entirely CO2 and foam.
Step 4: Tap the Keg
With pressure set and lines purged, you're ready for the main event.
- Cool the keg first. If your keg arrived warm, let it sit in the kegerator for at least 6 hours before tapping. Cold beer pours cleaner and carbonates properly.
- Lock the coupler. Push the coupler up onto the keg's spear fitting, then pull the handle down until it locks with a firm click. If it doesn't click, it's not seated — re-seat it.
- Open the tap. Turn the tap handle to the open position. You'll hear a hiss of CO2 entering the keg — this is normal and good.
- Pour slow. The first pint will be foam-heavy. Let it go until the foam clears and the pour smooths out. This is the line purge doing its job.
First pint tip: Angle the glass at 45 degrees as you pour. Fill halfway, then straighten up and pour the rest down the center. This builds proper head without over-foaming.
Step 5: Dial It In (First Week)
First-day setup is the foundation. But the first week is where most new kegerator owners discover problems. Here's what to watch:
Over-foaming
Most over-foaming comes from three causes: (1) pressure set too high — drop 1 PSI and test; (2) beer too warm — check your kegerator is holding at 38°F; (3) pour speed too fast — slow down, especially on the second half of the pour.
Flat beer
CO2 is a gas — it dissolves into cold liquid under pressure and escapes when pressure drops. If your pours are flat, check: (1) tank is actually open; (2) regulator PSI reading is in range; (3) coupler is fully locked and sealed. If all three check out and it's still flat, the keg may have been compromised during transport.
Slow pours
If beer barely trickles out, your lines may be kinked or the keg coupler is partially engaged. Straighten any kinks in the beer line. Disconnect and reconnect the coupler.
What Comes Next: Maintaining Your Setup
A properly installed kegerator requires minimal maintenance — but a few things extend its life and keep your pours consistent:
- Check CO2 pressure monthly. The regulator holds its setting, but tanks empty without warning. A gauge showing 0 PSI means an empty tank, not a closed valve.
- Clean beer lines every 2–4 weeks. Yeast and bacteria build up in lines over time. A flush with warm water between kegs, and a proper beer line cleaner kit every few weeks, keeps the flavor clean.
- Watch the temperature. A kegerator compressor cycles on and off. If you're getting inconsistent cold results, check the door seal and interior thermometer.
TapDrop rental subscribers get cleaning kits included and free CO2 refills — so the maintenance side of home draft is handled without extra trips.
More from TapDrop
Ready to experience great craft beer at home? TapDrop delivers 5-liter mini kegs from top breweries to your door, anywhere in the US.
Browse Mini Kegs →Article last updated: June 2026. Equipment specifications vary by manufacturer — always consult your unit's manual.