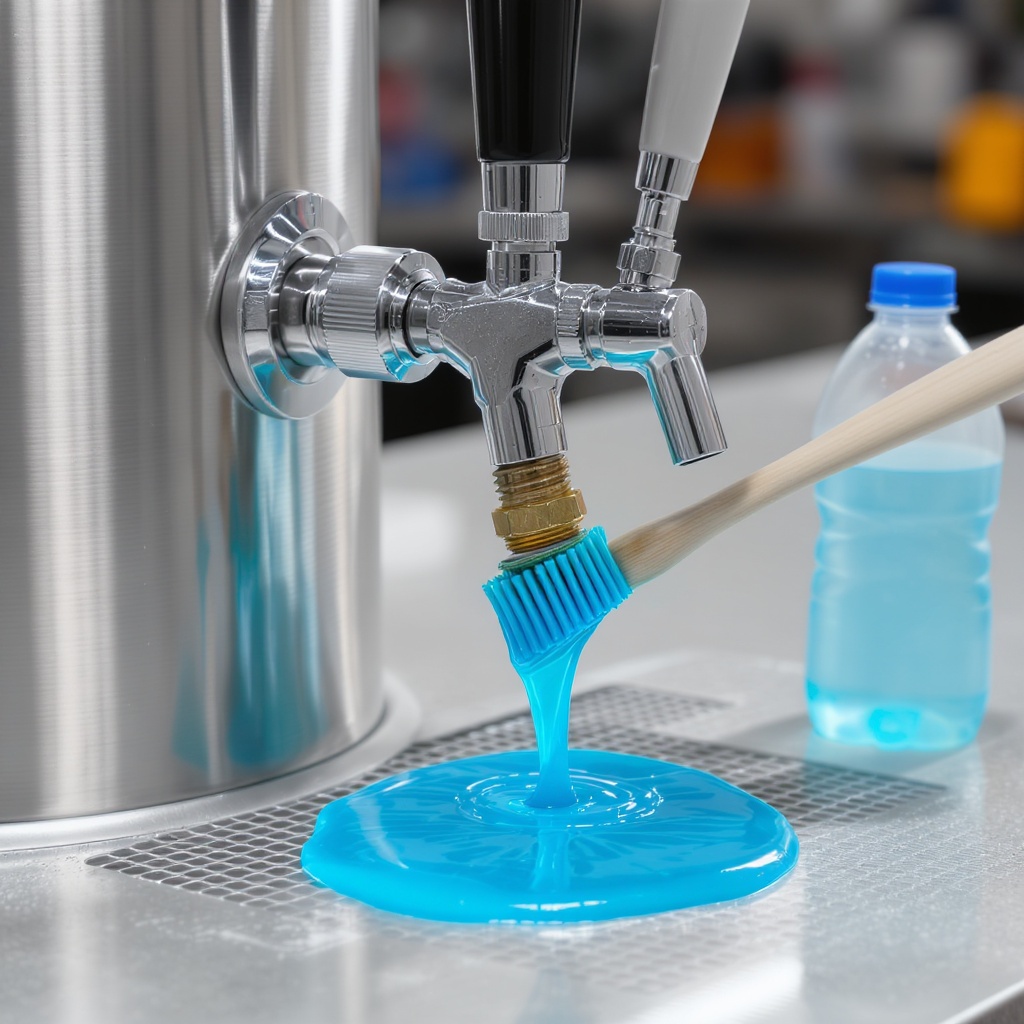
Why Cleaning Matters (More Than You'd Think)
Beer is organic. Yeast, bacteria, and hop resins accumulate in every wet surface inside your draft system — beer lines, faucet body, coupler, shank. Left unchecked, this buildup creates off-flavors that have nothing to do with the quality of the beer you're pouring.
Common off-flavors from dirty equipment:
- Bitter / astringent: Bacterial contamination in lines, often from residual cleaning solution
- Sour / vinegary: Acetobacter (acetic acid bacteria) from oxygen exposure or warm storage
- Musty / stale: Yeast buildup in lines and faucet body
- Plastic / chemical: Improper rinse after cleaning — cleaning solution left in lines
If your beer tastes "off" and the freshness window is fine, your equipment is usually the culprit. Clean it.
How Often to Clean
The rule of thumb from professional draft systems carries over to home kegerators: flush beer lines every two weeks, deep-clean every 4–6 weeks.
| Component | Frequency | Method |
|---|---|---|
| Beer lines | Every 2 weeks | Flush with warm water + line cleaner |
| Faucet | Every 2 weeks | Disassemble, soak, scrub |
| Keg coupler | Every 4–6 weeks | Soak in warm water + soap |
| CO2 regulator | Every 3 months | Wipe exterior, check fittings |
| Kegerator interior | Monthly | Wipe shelves, check for spills, odor |
More frequent use (heavy pourers) means more frequent cleaning. If you're putting through two or more kegs a month, do the deep clean monthly rather than every six weeks.
What You Need (The Cleaning Kit)
Kegerator cleaning kit contents
- Beer line cleaner (BLC) or PBW: Alkaline powder that breaks down yeast and beer residue. Mix with warm water per package directions.
- Faucet brush: Long-bristled brush sized for standard draft faucets. Cleans inside the faucet body and shank threading.
- Coupler brush: Small brush for cleaning the keg coupler's interior spear and external fittings.
- Unbleached kitchen towel or dedicated line-drying rack: Never use paper towels — they leave fiber residue inside lines.
- Warm (not hot) water: Hot water can damage some seal types.
- Unscented dish soap: For the coupler and exterior parts. Scented soaps leave residues that affect beer flavor.
TapDrop subscribers: Cleaning kits are included in your rental plan. You don't need to source these separately — we ship them with your keg delivery and include a reference card with step-by-step instructions.
Step-by-Step: The Full Clean
Step 1 — Disconnect and disassemble
Turn off the CO2 tank valve. Disconnect the gas line from the coupler. Remove the keg and set it aside. Take apart the faucet: close the tap handle, unscrew the faucet knuckle (the curved piece between the handle and the shank), and pull the faucet body from the shank. On most standard faucets, you can unscrew the tap handle and pull the internal shaft out as well — this gives you access to the full interior.
Step 2 — Flush the beer lines
Fill a cup with warm water and run it through the beer lines (disconnect the line from the coupler and run water through from the coupler end until it runs clear from the tap). Then mix your beer line cleaner solution according to the package directions — typically 1–2 tablespoons per liter of warm water. Connect a cleaned coupler's gas post to a CO2 source with the cleaning solution in a cup, and use CO2 pressure to push the solution through the lines from the coupler end, collecting it in a cup at the faucet end. Let it sit in the lines for 15–30 minutes, then flush with clean warm water until the water runs clear from the tap.
Step 3 — Clean the faucet
Soak all disassembled faucet parts in warm water with a small amount of unscented dish soap for 5 minutes. Use the faucet brush to scrub the interior of the faucet body — the area around the seat (where the tap handle presses to open) and the spout interior. Rinse every part under warm running water until no soap film remains. Do not use bleach or abrasive scrubbers on faucet parts — bleach damages rubber seals and abrasive pads scratch chrome finish.
Step 4 — Clean the keg coupler
Soak the coupler in warm water with dish soap for 10 minutes. Use the coupler brush to scrub inside the liquid post (the larger tube) and the gas post (the smaller tube). These are the contact points where beer enters and exits — buildup here directly affects flavor. Rinse thoroughly and reassemble once everything is clean.
Step 5 — Reassemble and purge
Reconnect the gas line to the coupler. Reconnect the faucet body to the shank and tighten it — hand-tight is sufficient, no tools needed. Turn on the CO2 tank and set pressure to your normal serving PSI (10–12 PSI). Let CO2 run through the lines for 5 minutes to push out any residual water before tapping the next keg. This step is important — don't skip the purge. Water in the lines creates foamy, flat pours.
Descaling: When Water Quality Is the Problem
Hard water leaves mineral deposits inside beer lines and faucet internals over time. If your lines are flowing slowly or you see white scaling on faucet parts, you need a descaler — phosphoric or citric acid-based, typically labeled "beer line descaler."
Run the descaler solution through the same way you'd run beer line cleaner. Check the solution's contact time on the label — descalers typically need 15–30 minutes. Rinse with warm water until the rinse water tests neutral (no acidic taste or smell). A descaler treatment once a quarter is sufficient for most home users in areas with moderately hard water.
If you're on city water with soft water or filtered water, you'll rarely need descaling. If you're on well water with hard mineral content, descale every 6–8 weeks as part of your regular maintenance schedule.
Troubleshooting Bad Flavors After Cleaning
Bitter / harsh aftertaste: Residual cleaning solution in lines. Flush with clean warm water until there's no soap taste. Always follow cleaning with a thorough water flush.
Musty / stale flavor: Yeast buildup in lines. Do a full deep clean (not just a warm water flush) with beer line cleaner. If the issue persists, the lines may need replacing — old plastic beer lines absorb flavor compounds that cleaning can't remove.
Plastic / chemical taste: Either from soap residue or from new lines that haven't been properly flushed. Run CO2 through the lines for 20+ minutes to fully purge before serving.
Sour taste: Bacterial contamination — the cleaning solution didn't reach all surfaces, or the system was stored warm with a full keg. Disassemble everything, soak in cleaner solution, scrub, and reassemble. If sour flavor persists after thorough cleaning, the lines may need replacing.
The Maintenance Routine at a Glance
Weekly (light users)
- Wipe down faucet exterior with warm water
- Check CO2 tank pressure
- Wipe interior kegerator walls with damp cloth
Every 2 weeks (standard use)
- Flush beer lines with warm water
- Run beer line cleaner through lines
- Disassemble and soak faucet parts
Monthly (heavy users)
- Full deep clean: lines, faucet, coupler, interior
- Inspect all seals and gaskets
- Check for any leaks at fittings
Quarterly
- Descale if hard water area
- Inspect CO2 tank and regulator
- Check and replace any worn seals or gaskets
Equipment maintenance is part of the home draft equation. TapDrop subscription plans include cleaning supplies and a reference card with each delivery, so the maintenance loop doesn't require sourcing anything yourself.
More from TapDrop
Ready to experience great craft beer at home? TapDrop delivers 5-liter mini kegs from top breweries to your door, anywhere in the US.
Browse Mini Kegs →Article last updated: June 2026. Always consult your equipment manufacturer's cleaning instructions — some components have specific material requirements.